

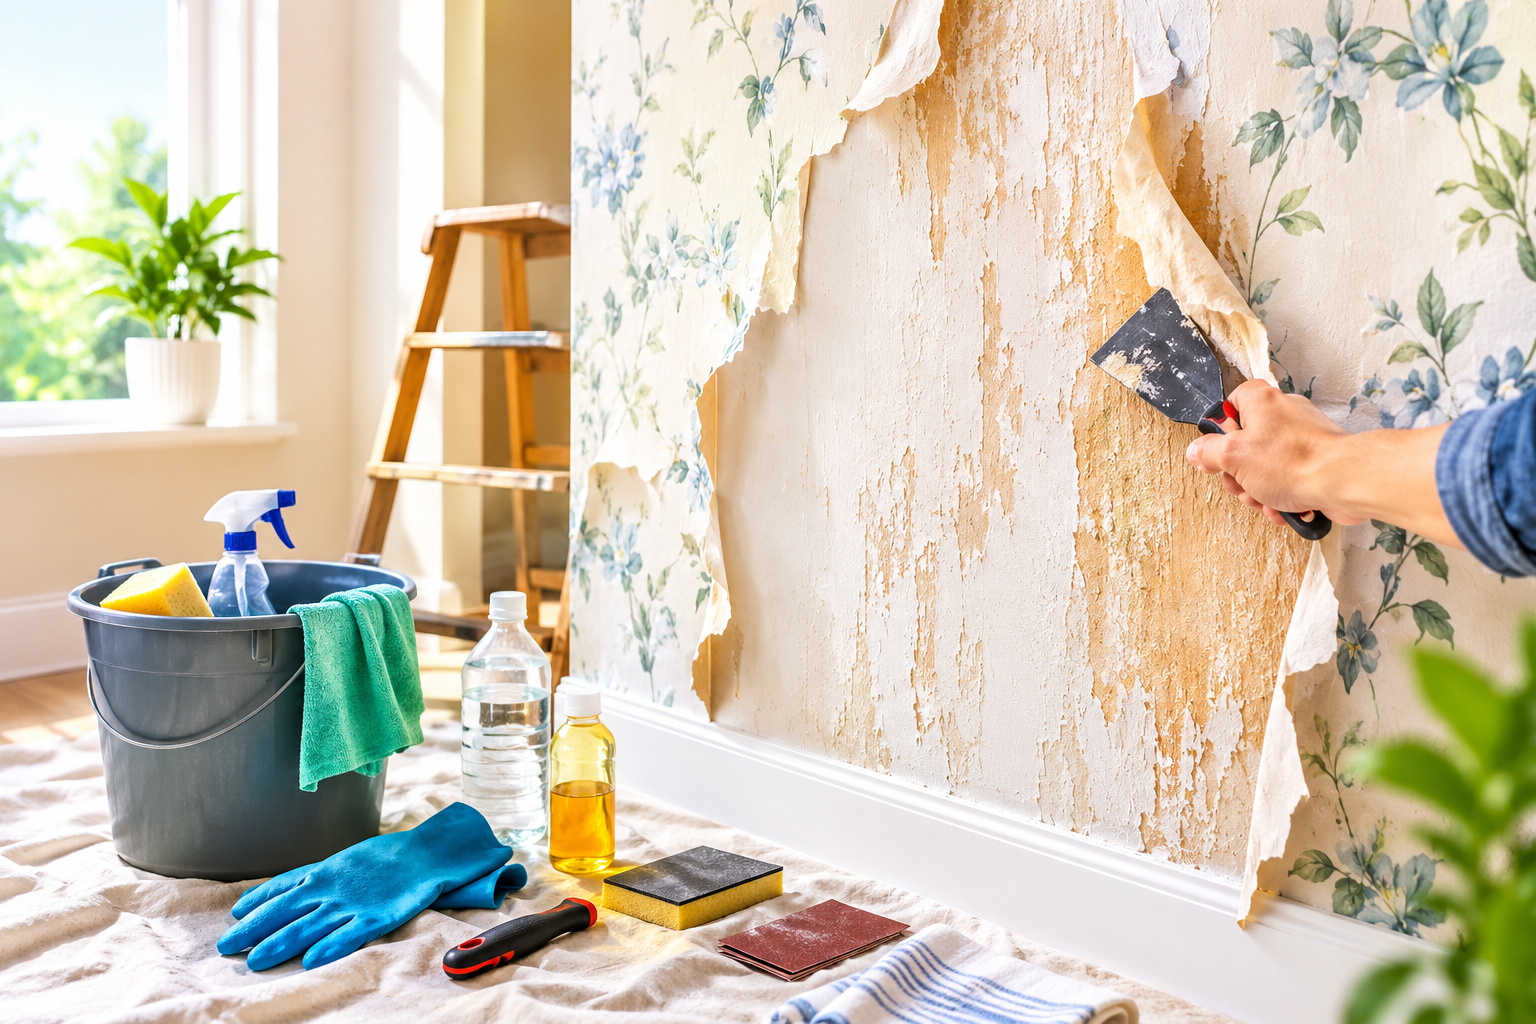
Removing old wallpaper can make a room look fresh, but there is often one difficult job left behind: removing the sticky glue from the walls. If wallpaper paste is not cleaned properly, it can cause severe problems when you try to paint or install new wallpaper.
If you are wondering how to remove wallpaper glue easily and safely, the good news is that you usually do not need expensive specialized equipment. With warm water, effective DIY solutions, the right tools, and a gentle approach, almost any stubborn adhesive can be removed without damaging your surface.
This comprehensive guide explains the easiest methods on how to remove wallpaper glue, the exact tools and recipes you need, how to deal with tough dried residue, and how to prepare your wall perfectly for painting.
What You Need to Remove Wallpaper Glue
Before starting, collect all the essential tools and cleaning agents. Having everything ready beforehand speeds up the process and prevents frustrating delays.
- Warm water (the core base for softening adhesive)
- Liquid dish soap (cuts through tough paste additives)
- White vinegar or liquid fabric softener
- Bucket and spray bottle
- Large sponge and microfiber cloths
- Plastic scraper or flexible putty knife
- Drop cloths or heavy plastic sheets
- Painter’s tape (for protecting outlets)
- Rubber gloves and eye protection
- Fine-grit sandpaper (120 to 220 grit)
- Commercial wallpaper remover (for heavy-duty glue)
How to Remove Wallpaper Glue Step by Step
The best strategy for wallpaper glue removal depends on the specific adhesive type and the material of the wall underneath. Always test your chosen method on a small, hidden patch before treating the entire room.
1. Prepare the Room and Protect Electricals
Move all furniture away from the walls or to the center of the room. Lay down drop cloths along the baseboards to absorb drips and trap scraped paste. Use painter’s tape and plastic sheets to seal off all electrical outlets and light switches. Turn off the circuit breaker for safety when working near electrical fixtures.
2. Remove Any Remaining Wallpaper Pieces
Before tackling the adhesive, ensure every single strip of paper face is completely off. Scrape away remaining paper backing using a dry scraper or a mild water mist. Paper left on the wall blocks moisture from reaching the adhesive layer beneath.
3. Test the Wall Surface (Drywall vs. Plaster)
It is crucial to know what kind of wall you are working with:
- Drywall (Gypsum Board): Highly vulnerable to water. Excessive soaking causes the paper facing to bubble, tear, or mold. Use minimal water and work fast.
- Plaster: Highly resistant to moisture, but aggressive metal scraping can cause cracks or gouges.
Apply a small spray of warm water to a lower corner to observe how the surface absorbs moisture.
4. Soften the Glue with Warm Water and Soap
For light wallpaper adhesive, warm water mixed with a few drops of liquid dish soap is often sufficient. Dish soap breaks the surface tension, allowing warm water to penetrate deep into the dried paste.
Use a spray bottle or a damp sponge to apply the warm solution over a manageable $3\text{ ft} \times 3\text{ ft}$ section. Let it sit for 3 to 5 minutes so the glue can soften into a gel-like state. Do not soak drywall excessively.
5. Gently Scrape the Residue
Once the adhesive turns soft and gummy, hold your plastic scraper or putty knife at a shallow 30-degree angle. Slide it gently under the glue layer to strip it away.
Work systematically in small sections. Never push forcefully into the wall, as this creates deep gouges that require patching later. If the glue feels hard, apply more liquid solution and grant it a few extra minutes to soften.
6. Sponge Wash and Wipe Clean
After scraping the bulk paste away, dip a microfiber cloth or sponge into fresh, warm water and thoroughly wipe the wall down. Wash away all remaining sticky streaks until the surface feels completely smooth to the touch.
Proven DIY Solutions to Remove Wallpaper Glue
Different types of wallpaper adhesives require different chemical reactions to loosen up. Here are four highly effective, low-cost DIY formulas for how to remove wallpaper glue:
| DIY Solution | Ingredients & Mix Ratio | Best Used For |
| Warm Water & Dish Soap | 1 gallon warm water + 1 tbsp liquid dish soap | Standard water-soluble starch glues |
| Vinegar & Water Solution | 1 gallon warm water + 1 cup white distilled vinegar | Tough, sticky, or slightly dried glue |
| Fabric Softener Mix | 3 parts warm water + 1 part liquid fabric softener | Heavily built-up vinyl wallpaper paste |
| Baking Soda Boost | 1 gallon warm water + 1 tbsp baking soda + 1 tbsp dish soap | Extra stubborn paste or light paste residue |
How These DIY Formulas Work:
- Vinegar and Water: The natural acetic acid in white vinegar breaks down synthetic adhesives without releasing toxic chemical fumes.
- Fabric Softener: Softener lubricates and penetrates old, hardened glue coats, making scraping fast and effortless.
- Baking Soda Mix: Baking soda acts as a mild abrasive and chemical neutralizer, helping lift thick paste without scratching the plaster underneath.
Commercial Wallpaper Removers
If DIY solutions fail to loosen old paste, a commercial wallpaper remover is your best option. These formulas contain specialized enzymes or fast-acting solvents that break down chemical binders in vinyl and heavy-duty adhesives.
- Spray Formulas: Ideal for quick spot-cleaning and small rooms.
- Concentrated Liquids: Mixed with hot water in a garden sprayer for full-house projects.
Application Tip: Apply the commercial formula, let it work for the exact dwell time listed on the bottle label (usually 5–10 minutes), and scrape immediately before it dries back up. Always maintain adequate ventilation by opening windows while using enzyme solutions.
How to Remove Dried Wallpaper Glue
Dried, hardened paste is challenging because it acts like a clear shell on top of the paint or drywall. Aggressive dry scraping will tear off wall papering and damage the drywall underneath.
- Rehydrate the Dry Glue: Spray hot water or a vinegar mix directly onto the hardened glue patches.
- Scoring (If Needed): If the dried paste resists moisture, use a wallpaper scoring tool very lightly to create micro-slits, allowing water to reach underneath.
- Patience: Let the solution dwell for 10 minutes until the shell turns soft and gel-like.
- Scrape and Wash: Gently lift the softened gel with a plastic scraper and wash immediately with a warm microfiber cloth.
Can You Sand Wallpaper Glue Off?
Sanding dry wallpaper glue directly is not recommended as a starting step. Dry adhesive clogs sandpaper instantly, generates toxic dust, and easily rips through drywall paper.
When to Sand:
Sand the wall only after you have washed away 90–95% of the paste using liquid methods and allowed the wall to dry completely. Once dry, use fine-grit sandpaper (180 to 220 grit) or a flexible sanding sponge with very light pressure to remove tiny, dried specks or smooth out uneven areas. Wipe away all fine dust with a dry microfiber towel before painting.
How to Prepare the Wall for Painting After Glue Removal
Learning how to remove wallpaper glue is only half the process. Proper wall preparation is essential to guarantee that new paint adheres smoothly without peeling, bubbling, or staining.
- Final Wash: Wipe the entire wall surface with clean water and a fresh sponge to remove leftover glue traces and soap residue.
- Full Drying Time: Allow the room to dry completely for at least 24 to 48 hours.
- Inspect and Repair: Examine the surface for scratches, gouges, or nail holes. Fill imperfections with joint compound or spackle using a putty knife.
- Sand Repair Spots: Once the spackle is dry, lightly sand those patched areas smooth.
- Clean Dust: Wipe away all sanding dust using a tack cloth or vacuum brush attachment.
- Apply Wall Primer: Apply a high-quality oil-based or stain-blocking primer (Zinsser or KILZ). Never use a water-based drywall primer over residual glue, as water-based primer reactivates hidden adhesive and creates a bumpy, peeling mess.
- Paint: Apply two coats of your chosen wall paint once the primer has cured.
Common Mistakes to Avoid
Avoid these frequent mistakes when figuring out how to remove wallpaper glue:
- Soaking Drywall: Excessive water saturates the internal gypsum board, causing permanent structural warping, paper tearing, and mold growth.
- Using Metal Scrapers Forcefully: Sharpened metal putty knives gouge deep channels into soft walls. Always prefer plastic scrapers.
- Skipping the Test Patch: Applying strong chemicals or fabric softeners without testing can discolor underlying wall paint.
- Painting Directly Over Glue: Painting over uncleaned adhesive causes bubbling, uneven paint sheen, and peeling paint within weeks.
- Rushing the Drying Phase: Priming or painting on damp drywall traps moisture inside the wall, promoting mold growth.
Frequently Asked Questions
What is the easiest way to remove wallpaper glue?
The easiest and most effective way is spraying a mixture of hot water, a few drops of dish soap, and 1 cup of white vinegar. Let it sit for 5 minutes, scrape gently with a plastic putty knife, and wipe clean.
How do you remove wallpaper glue from drywall safely?
Apply moisture conservatively using a damp sponge rather than soaking the wall. Work in small $3\text{ ft} \times 3\text{ ft}$ sections, scrape gently with plastic tools, and dry the surface with a towel promptly.
Can vinegar remove stubborn wallpaper glue?
Yes, diluted white vinegar is an excellent natural solution. The acetic acid dissolves stubborn paste bonds safely without harsh chemical odors.
Can you paint over old wallpaper glue?
No, you should never paint over leftover glue. Water in latex paint reactivates the paste, causing the new paint finish to bubble, crack, and peel off over time.
Why is an oil-based primer recommended after glue removal?
Oil-based primers effectively seal off any microscopic traces of adhesive left on the wall, preventing the paste from reactivating when water-based topcoat paint is applied.
Final Thoughts
Mastering how to remove wallpaper glue requires patience, the right DIY solution ratios, controlled moisture, and a soft scraping touch. By taking time to properly soften the adhesive with warm water, vinegar, or fabric softener before scraping, you protect your drywall from expensive damages.
Follow up with a thorough clean wash, ample drying time, and a reliable oil-based primer coat to ensure your newly painted room looks completely smooth, flawless, and professional for years to come.
